


I LOVE ME some dungarees and have made a few pairs already – Heyday, Yanta, Colibri and Turia – some of which are worn very regularly. As you can never have too many pairs of dungas, I was very excited when Merchant and Mills brought out the Harlene pattern and I swiftly added it to my list of things to sew. I’m a big fan of the Merchant and Mills aesthetic – Florence and Camber are my favourite patterns so far and there are several others I haven’t made yet which are on my radar, starting with Eve and Whittaker.

I’m also a big fan of Merchant and Mills fabric and we visit their shop in Rye at least once a year, where I usually spend at least all of my monthly sewing budget in one hit. They stock some beautiful denims and I bought the 8oz washed medium denim and hardware kit for my Harlenes on our most recent trip to Rye. I really wanted a pair in their 11oz Kojima denim, but I already have a dark navy pair of dungas and at almost twice the price (£24 vs £12.50 per metre) the 8oz seemed like a much more sensible option, especially as I hadn’t made the pattern before and wouldn’t be making a toile.

Merchant and Mills patterns typically have a relaxed fit, so I always check the finished measurements carefully before selecting which size to make. I had read several reviews of the Harlene pattern where the maker had sized down one or sometimes two sizes – my body measurements put me in a size 10, but I opted for the size 8. The fit is definitely generous and I probably could have made the size 6, but I love how comfy they are and the range of movement I have, so I’m happy with my choice. I didn’t make any alterations other than taking 4″ in length off the straps and 3″ in length from the legs – they are still a little bit long, but luckily I like the look of a turn-up!
The pattern is packed with lovely details and I absolutely loved working my way through the clever construction. The instructions are excellent and the finish you are left with is really clean and neat. Harlene is definitely not a quick make, but I sped up the process a lot by using two machines – one with regular thread for construction and another with topstitching thread. Not having to continually re-thread my machine every time I needed to topstitch something saved so much time – a second sewing machine is a recent addition to my sewing room and I was incredibly grateful for such a luxury during this make!

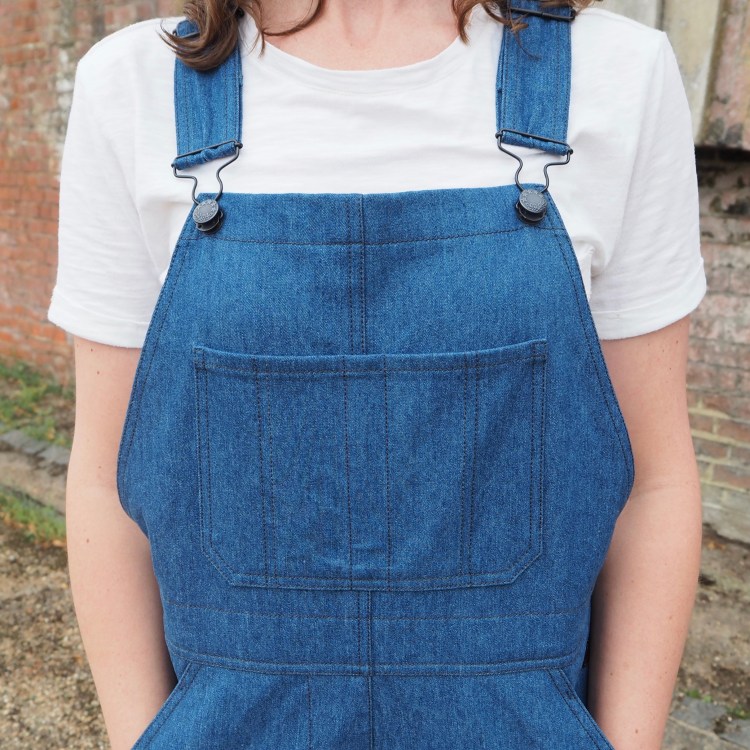
Rather than Gutermann topstitch thread I actually used Gutermann extra strong/upholstery thread for my topstitching. It is much easier to sew with – thin enough to fit through a regular machine needle, but thick enough to look like proper topstitching. I used this when I made my last pair of jeans and I will never go back! I chose dark grey to match the gun metal finish of the hardware and I think it looks great.

I’m really pleased with my Harlenes and they have turned out exactly how I envisaged. The denim is pretty ‘blue’ at the moment, but I am looking forward to seeing how it fades after lots of wearing and washing. That Kojima denim might well be on my Christmas list this year because you really can never have too many pairs of dungarees!
